- Authors

- Name
- Youngju Kim
- @fjvbn20031
- 들어가며
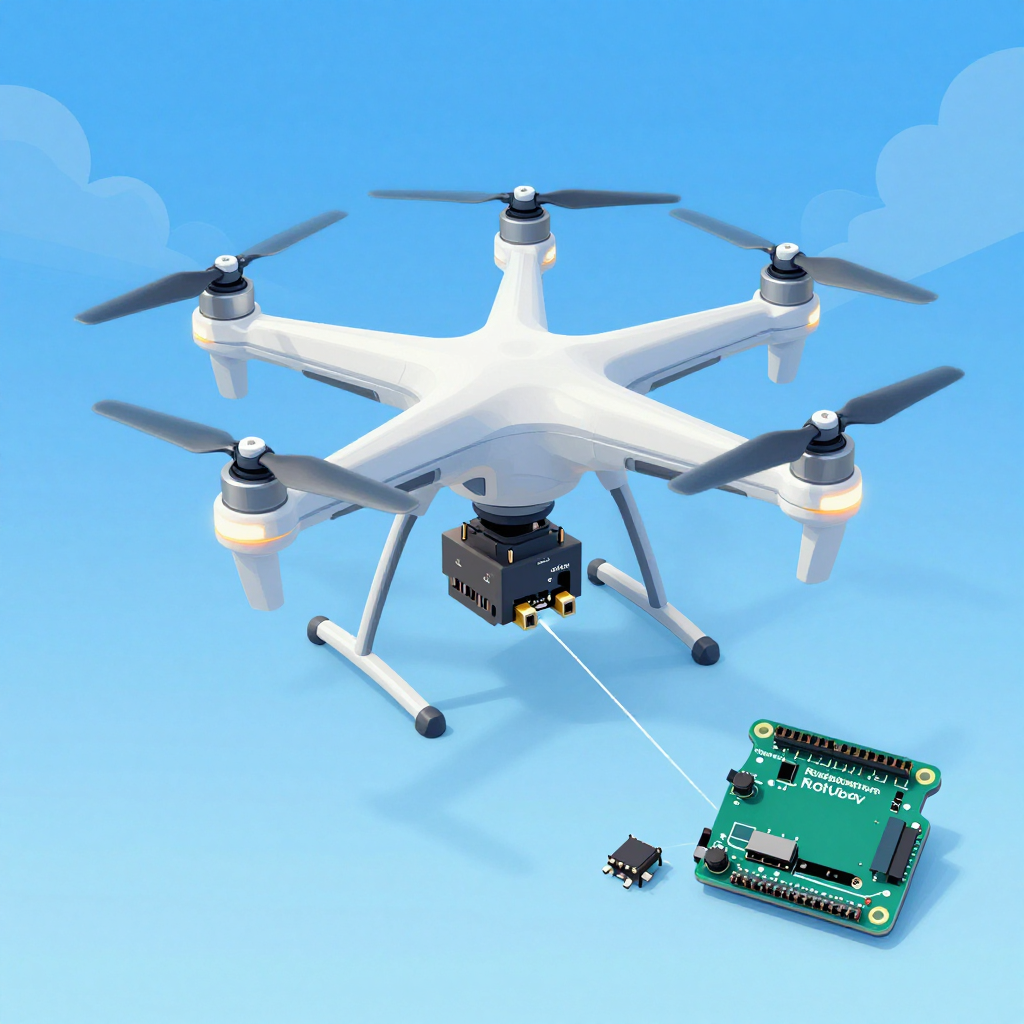
- Part 1: 하드웨어 구성
- Part 2: PID 제어 — 드론의 핵심
- Part 3: Raspberry Pi 비전 제어
- Part 4: 실전 제어 시스템 사례
- PID 튜닝 가이드
- 이 임베디드 실전 시리즈에서 다음에 읽을 글
이 글은 이 시리즈의 허브 글이다. 센서, 제어기, 비전 처리, 자율 비행까지 전체 시스템을 한 번에 이해하고 싶다면 여기서 시작하면 된다. 더 작은 폼팩터의 BLE 센서 노드, 저전력 설계, TinyML 엣지 디바이스가 관심사라면 Seeed Studio XIAO nRF52840 완전 가이드 — BLE IoT 프로젝트 실전으로 이어서 읽는 편이 맞다.
들어가며
드론을 사서 날리는 것과 직접 만들어서 날리는 것은 완전히 다른 경험입니다. 하드웨어 조립, PID 제어 튜닝, 센서 융합, 자율 비행 알고리즘까지 — 제어 공학의 모든 것이 집약된 프로젝트입니다.
Part 1: 하드웨어 구성
쿼드콥터 부품 리스트
필수 부품:
├── 프레임: F450 (대각 450mm, 입문용 최적)         ~₩15,000
├── 모터: 2212 920KV BLDC × 4                      ~₩24,000
├── ESC: SimonK 30A × 4 (전자 속도 제어기)          ~₩20,000
├── 프로펠러: 1045 (10인치) × 4 (CW 2 + CCW 2)     ~₩5,000
├── 배터리: 3S 11.1V 2200mAh LiPo                  ~₩20,000
├── 컨트롤러: Arduino Mega 2560 또는 STM32          ~₩15,000
├── IMU 센서: MPU6050 (가속도+자이로)               ~₩3,000
├── 기압계: BMP280 (고도 유지)                      ~₩3,000
├── GPS: Neo-6M (자율 비행용)                       ~₩10,000
├── 수신기: FlySky FS-iA6B (조종기 포함)            ~₩30,000
└── 전원 분배 보드 (PDB) + 커넥터                    ~₩5,000
총: ~₩150,000 (DJI Mini 4의 1/5 가격!)

선택 부품:
├── Raspberry Pi 4 (비전 처리, 자율 비행)           ~₩60,000
├── Pi Camera V2 (객체 추적)                        ~₩30,000
├── 울트라소닉 센서: HC-SR04 (저고도 측정)          ~₩2,000
├── 광학 흐름 센서: PMW3901 (실내 위치 유지)        ~₩15,000
└── Telemetry: HC-12 433MHz (지상 모니터링)         ~₩5,000
모터 배치
       Front
    M1(CW)  M2(CCW)
      \      /
       \    /
        \  /
     [FC Board]
        /  \
       /    \
      /      \
    M3(CCW) M4(CW)
       Back

CW = 시계방향, CCW = 반시계방향
대각선 모터가 같은 방향으로 회전!
→ 토크 상쇄로 기체 안정
배선도
배터리 (3S LiPo 11.1V)
  │
  ├──[PDB]── ESC1 ── M1
  │          ESC2 ── M2
  │          ESC3 ── M3
  │          ESC4 ── M4
  │
  ├──[BEC 5V]── Arduino Mega
  │               ├── MPU6050 (I2C: SDA→D20, SCL→D21)
  │               ├── BMP280 (I2C: 같은 버스)
  │               ├── GPS Neo-6M (Serial2: TX→D16, RX→D17)
  │               ├── 수신기 (PPM→D2 또는 각 채널)
  │               └── ESC Signal (D3, D5, D6, D9)
  │
  └──[5V]── Raspberry Pi 4 (USB 연결 또는 Serial)
              └── Pi Camera
Part 2: PID 제어 — 드론의 핵심
PID란?
목표: 드론을 수평으로 유지하고 싶다 (Roll = 0°)

현재 상태: Roll = 5° (오른쪽으로 기울어짐)
오차(Error) = 목표 - 현재 = 0° - 5° = -5°

PID 출력 = P + I + D

P (비례): 오차에 비례하여 보정
  → -5° × Kp = 즉각 반응, 하지만 진동 가능

I (적분): 오차의 누적을 보정
  → 미세한 편향 제거, 하지만 과하면 오버슈트

D (미분): 오차의 변화율을 보정
  → 급격한 변화 억제, 진동 방지
Arduino PID 구현
// PID 제어기 클래스
class PIDController {
private:
    float Kp, Ki, Kd;
    float prevError = 0;
    float integral = 0;
    float maxIntegral = 300;  // 적분 와인드업 방지
    unsigned long prevTime = 0;

public:
    PIDController(float p, float i, float d)
        : Kp(p), Ki(i), Kd(d) {}

    float compute(float setpoint, float measured) {
        unsigned long now = micros();
        float dt = (now - prevTime) / 1000000.0f;  // 초 단위
        if (dt <= 0 || dt > 0.5) dt = 0.004;  // 안전장치
        prevTime = now;

        float error = setpoint - measured;

        // P: 비례
        float P = Kp * error;

        // I: 적분 (와인드업 방지)
        integral += error * dt;
        integral = constrain(integral, -maxIntegral, maxIntegral);
        float I = Ki * integral;

        // D: 미분 (측정값 기반 — setpoint 변경 시 킥 방지)
        float derivative = (error - prevError) / dt;
        float D = Kd * derivative;
        prevError = error;

        return P + I + D;
    }

    void reset() {
        prevError = 0;
        integral = 0;
    }
};

// Roll, Pitch, Yaw 각각 별도 PID
PIDController rollPID(1.2, 0.04, 18.0);
PIDController pitchPID(1.2, 0.04, 18.0);
PIDController yawPID(3.0, 0.02, 0.0);
센서 융합 (Complementary Filter)
#include <Wire.h>
#include <MPU6050.h>

MPU6050 mpu;

float roll = 0, pitch = 0, yaw = 0;
const float ALPHA = 0.98;  // 상보 필터 계수

void updateIMU() {
    int16_t ax, ay, az, gx, gy, gz;
    mpu.getMotion6(&ax, &ay, &az, &gx, &gy, &gz);

    // 가속도 → 절대 각도 (느리지만 드리프트 없음)
    float accelRoll = atan2(ay, az) * 180.0 / PI;
    float accelPitch = atan2(-ax, sqrt(ay*ay + az*az)) * 180.0 / PI;

    // 자이로 → 각속도 적분 (빠르지만 드리프트 있음)
    float dt = 0.004;  // 250Hz
    float gyroRollRate = gx / 131.0;   // °/s
    float gyroPitchRate = gy / 131.0;
    float gyroYawRate = gz / 131.0;

    // 상보 필터: 자이로(단기) + 가속도(장기) 융합
    roll = ALPHA * (roll + gyroRollRate * dt) + (1 - ALPHA) * accelRoll;
    pitch = ALPHA * (pitch + gyroPitchRate * dt) + (1 - ALPHA) * accelPitch;
    yaw += gyroYawRate * dt;  // 자이로만 (가속도로는 yaw 못 구함)
}
모터 믹싱
#include <Servo.h>

Servo motor[4];

void setup() {
    motor[0].attach(3);   // 전좌 (CW)
    motor[1].attach(5);   // 전우 (CCW)
    motor[2].attach(6);   // 후좌 (CCW)
    motor[3].attach(9);   // 후우 (CW)

    // ESC 초기화 (1000~2000μs PWM)
    for (int i = 0; i < 4; i++) {
        motor[i].writeMicroseconds(1000);
    }
    delay(2000);
}

void setMotors(float throttle, float rollOut, float pitchOut, float yawOut) {
    // 모터 믹싱 공식
    float m1 = throttle + pitchOut + rollOut - yawOut;  // 전좌 CW
    float m2 = throttle + pitchOut - rollOut + yawOut;  // 전우 CCW
    float m3 = throttle - pitchOut + rollOut + yawOut;  // 후좌 CCW
    float m4 = throttle - pitchOut - rollOut - yawOut;  // 후우 CW

    // 범위 제한 (1000~2000μs)
    motor[0].writeMicroseconds(constrain(m1, 1100, 1900));
    motor[1].writeMicroseconds(constrain(m2, 1100, 1900));
    motor[2].writeMicroseconds(constrain(m3, 1100, 1900));
    motor[3].writeMicroseconds(constrain(m4, 1100, 1900));
}
메인 루프 (250Hz)
void loop() {
    // 1. 센서 읽기
    updateIMU();

    // 2. 조종기 입력 읽기
    float targetRoll = map(rcChannel[0], 1000, 2000, -30, 30);
    float targetPitch = map(rcChannel[1], 1000, 2000, -30, 30);
    float targetYaw = map(rcChannel[3], 1000, 2000, -180, 180);
    float throttle = rcChannel[2];

    // 3. PID 계산
    float rollOut = rollPID.compute(targetRoll, roll);
    float pitchOut = pitchPID.compute(targetPitch, pitch);
    float yawOut = yawPID.compute(targetYaw, yaw);

    // 4. 모터 출력
    if (throttle > 1100) {  // 안전: 스로틀 최소 이상일 때만
        setMotors(throttle, rollOut, pitchOut, yawOut);
    } else {
        for (int i = 0; i < 4; i++)
            motor[i].writeMicroseconds(1000);  // 모터 정지
    }

    // 250Hz 유지
    while (micros() - loopTimer < 4000);
    loopTimer = micros();
}
Part 3: Raspberry Pi 비전 제어
# Raspberry Pi에서 객체 추적 + Arduino로 명령 전송
import cv2
import serial
import struct

# Arduino와 시리얼 통신
arduino = serial.Serial('/dev/ttyACM0', 115200)

# 카메라
cap = cv2.VideoCapture(0)
cap.set(cv2.CAP_PROP_FRAME_WIDTH, 320)
cap.set(cv2.CAP_PROP_FRAME_HEIGHT, 240)

# 색상 추적 (빨간색 물체 따라가기)
while True:
    ret, frame = cap.read()
    hsv = cv2.cvtColor(frame, cv2.COLOR_BGR2HSV)

    # 빨간색 마스크
    mask = cv2.inRange(hsv, (0, 120, 70), (10, 255, 255))
    contours, _ = cv2.findContours(mask, cv2.RETR_EXTERNAL, cv2.CHAIN_APPROX_SIMPLE)

    if contours:
        largest = max(contours, key=cv2.contourArea)
        M = cv2.moments(largest)
        if M["m00"] > 500:
            cx = int(M["m10"] / M["m00"])
            cy = int(M["m01"] / M["m00"])

            # 화면 중앙(160,120)으로부터의 오차
            error_x = cx - 160  # 좌우
            error_y = cy - 120  # 상하

            # Arduino로 보정 명령 전송
            cmd = struct.pack('hh', error_x, error_y)
            arduino.write(cmd)
Part 4: 실전 제어 시스템 사례
도립 진자 (Inverted Pendulum)
// 도립 진자 = 드론 제어의 축소판
// 막대를 수직으로 세우는 문제 = 드론을 수평으로 유지하는 문제

// 로터리 엔코더로 각도 읽기
volatile long encoderCount = 0;
float pendulumAngle = 0;

void encoderISR() {
    encoderCount += (digitalRead(ENCODER_B) == HIGH) ? 1 : -1;
}

void setup() {
    attachInterrupt(digitalPinToInterrupt(ENCODER_A), encoderISR, RISING);
}

void loop() {
    pendulumAngle = encoderCount * 360.0 / 2400.0;  // PPR=600, x4

    // PID로 모터 제어
    float output = balancePID.compute(0, pendulumAngle);  // 목표: 0°
    setMotor(output);
}
라인 트레이서 (자율 주행 기초)
// IR 센서 5개로 라인 감지
int sensors[5] = {A0, A1, A2, A3, A4};

float getLinePosition() {
    int values[5];
    float weighted = 0, total = 0;
    for (int i = 0; i < 5; i++) {
        values[i] = analogRead(sensors[i]);
        weighted += values[i] * (i - 2) * 1000;  // -2000 ~ +2000
        total += values[i];
    }
    return weighted / total;  // -2000(좌) ~ +2000(우)
}

void loop() {
    float position = getLinePosition();  // 현재 위치
    float correction = linePID.compute(0, position);  // 목표: 중앙(0)

    int leftSpeed = baseSpeed + correction;
    int rightSpeed = baseSpeed - correction;
    setMotors(leftSpeed, rightSpeed);
}
PID 튜닝 가이드
Ziegler-Nichols 방법:
1. Ki = 0, Kd = 0으로 시작
2. Kp를 서서히 올려서 진동이 시작되는 값(Ku) 찾기
3. 진동 주기(Tu) 측정
4. 계산:
   Kp = 0.6 × Ku
   Ki = 2 × Kp / Tu
   Kd = Kp × Tu / 8

실전 팁:
├── P만 먼저: 빠른 반응, 약간의 진동 OK
├── D 추가: 진동 잡기 (P의 10~20배)
├── I 추가: 정상 상태 오차 제거 (조금만!)
└── 드론은 I를 너무 키우면 위험 (적분 와인드업)
이 임베디드 실전 시리즈에서 다음에 읽을 글
- Seeed Studio XIAO nRF52840 완전 가이드 — BLE IoT 프로젝트 실전 드론처럼 큰 제어 시스템 대신, BLE 기반 센서 노드, 저전력 웨어러블, TinyML 엣지 디바이스를 직접 만들고 싶다면 이 글이 더 적합하다.
📝 퀴즈 — 드론 & 제어 시스템 (클릭해서 확인!)
Q1. PID에서 P, I, D 각각의 역할은? ||P(비례): 오차에 비례한 즉각 보정. I(적분): 누적 오차 제거 (정상 상태 오차). D(미분): 급격한 변화 억제 (진동 방지)||
Q2. 쿼드콥터에서 대각선 모터가 같은 방향으로 회전하는 이유는? ||토크 상쇄. CW와 CCW 모터가 대각으로 배치되어 전체 토크가 0이 됨. 같은 방향 모터만 있으면 기체가 회전함||
Q3. 상보 필터에서 ALPHA가 0.98인 의미는? ||자이로(단기, 빠름) 98% + 가속도(장기, 안정) 2% 비율로 융합. 자이로는 빠르지만 드리프트, 가속도는 느리지만 절대값 제공||
Q4. 적분 와인드업(Integral Windup)이란? ||모터 출력이 포화된 상태에서 적분값이 계속 커지는 현상. 포화 해제 시 과도한 오버슈트 발생. constrain으로 적분값 제한하여 방지||
Q5. ESC의 PWM 범위 1000~2000μs에서 각각의 의미는? ||1000μs: 모터 정지. 2000μs: 최대 회전. 1500μs: 중간. ESC는 이 PWM 신호를 받아 BLDC 모터의 3상 전류를 제어||