- Published on
Seeed Studio XIAO nRF52840 완전 가이드 — BLE IoT 프로젝트 실전
- Authors

- Name
- Youngju Kim
- @fjvbn20031
- 들어가며
- 스펙 비교
- 개발 환경 설정
- BLE (Bluetooth Low Energy) 프로그래밍
- 저전력 설계
- 센서 메시 네트워크
- TinyML (XIAO Sense)
- 이 임베디드 실전 시리즈에서 다음에 읽을 글
이 글은 이 시리즈의 소형 BLE 엣지 디바이스 편이다. XIAO nRF52840의 장점은 초소형 폼팩터, BLE, 저전력, TinyML 가능성을 한 보드에 묶어 빠르게 실험할 수 있다는 점이다. 센서 노드와 웨어러블 중심으로 보고 싶다면 여기서 시작하고, PID 제어와 자율 비행처럼 더 큰 시스템을 다루고 싶다면 Arduino + Raspberry Pi 드론 & 제어 시스템 만들기 완전 가이드를 다음 글로 읽으면 된다.
들어가며
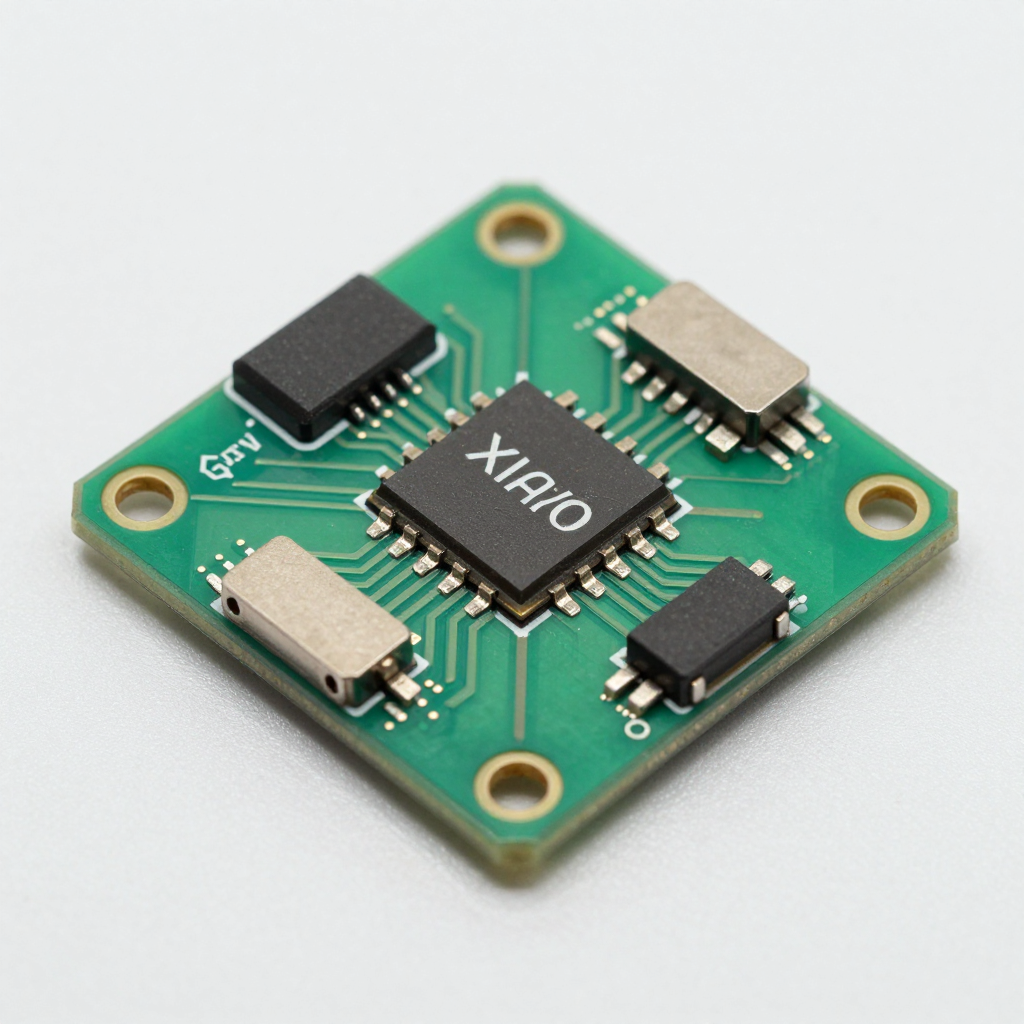
XIAO nRF52840 — 21mm × 17.5mm 크기에 BLE 5.0, 6축 IMU, 마이크, 256KB RAM을 가진 초소형 보드. 웨어러블, IoT 센서, TinyML 디바이스에 최적입니다.
스펙 비교
| 항목 | XIAO nRF52840 | XIAO nRF52840 Sense | XIAO ESP32C3 |
|---|---|---|---|
| 프로세서 | ARM Cortex-M4F 64MHz | ARM Cortex-M4F 64MHz | RISC-V 160MHz |
| RAM | 256KB | 256KB | 400KB |
| Flash | 1MB + 2MB QSPI | 1MB + 2MB QSPI | 4MB |
| 무선 | BLE 5.0 | BLE 5.0 | Wi-Fi + BLE 5.0 |
| IMU | ❌ | ✅ LSM6DS3TR-C | ❌ |
| 마이크 | ❌ | ✅ PDM | ❌ |
| 배터리 | 리튬 충전 회로 내장 | 리튬 충전 회로 내장 | ❌ |
| 크기 | 21×17.5mm | 21×17.5mm | 21×17.5mm |
| 가격 | ~$5.99 | ~$15.99 | ~$4.99 |
개발 환경 설정
Arduino IDE
1. 보드 매니저 URL 추가:
   https://files.seeedstudio.com/arduino/package_seeeduino_boards_index.json

2. 보드 매니저 → "Seeed nRF52 mbed-enabled Boards" 설치

3. 보드 선택: "Seeed XIAO BLE - nRF52840"

4. ⚠️ 부트로더 모드 진입: RST 핀 2번 빠르게 터치
   → 오렌지 LED 페이딩 = 부트로더 모드
BLE (Bluetooth Low Energy) 프로그래밍
BLE 기본 개념
BLE 구조:
├── GAP (Generic Access Profile) — 연결 관리
│   ├── Peripheral (서버): 데이터 제공 (센서)
│   └── Central (클라이언트): 데이터 요청 (스마트폰)
│
└── GATT (Generic Attribute Profile) — 데이터 구조
    ├── Service: 기능 그룹 (예: 온도 서비스)
    │   ├── Characteristic: 데이터 포인트 (예: 온도 값)
    │   │   ├── Value: 실제 데이터
    │   │   ├── Properties: Read/Write/Notify
    │   │   └── Descriptor: 메타데이터
    │   └── Characteristic: ...
    └── Service: ...
BLE 센서 서버 (Peripheral)
#include <ArduinoBLE.h>

// 커스텀 서비스 + 특성 정의
BLEService envService("181A");  // Environmental Sensing

BLEFloatCharacteristic tempChar("2A6E", BLERead | BLENotify);
BLEFloatCharacteristic humChar("2A6F", BLERead | BLENotify);
BLEByteCharacteristic ledChar("2A57", BLERead | BLEWrite);

void setup() {
    Serial.begin(115200);
    BLE.begin();

    // 디바이스 설정
    BLE.setLocalName("XIAO-Sensor");
    BLE.setAdvertisedService(envService);

    // 특성 추가
    envService.addCharacteristic(tempChar);
    envService.addCharacteristic(humChar);
    envService.addCharacteristic(ledChar);
    BLE.addService(envService);

    // 초기값
    tempChar.writeValue(0.0f);
    humChar.writeValue(0.0f);
    ledChar.writeValue(0);

    // LED 제어 콜백
    ledChar.setEventHandler(BLEWritten, onLedWrite);

    BLE.advertise();
    Serial.println("BLE Sensor Ready!");
}

void onLedWrite(BLEDevice central, BLECharacteristic characteristic) {
    byte value = ledChar.value();
    digitalWrite(LED_BUILTIN, value ? LOW : HIGH);
    Serial.print("LED: "); Serial.println(value ? "ON" : "OFF");
}

void loop() {
    BLEDevice central = BLE.central();

    if (central) {
        Serial.print("Connected: "); Serial.println(central.address());

        while (central.connected()) {
            // 센서 읽기 (예시: 아날로그)
            float temp = analogRead(A0) * 0.1;  // 실제로는 DHT22 등 사용
            float hum = analogRead(A1) * 0.1;

            tempChar.writeValue(temp);
            humChar.writeValue(hum);

            delay(1000);
        }
        Serial.println("Disconnected");
    }
}
Python BLE 클라이언트 (Central)
import asyncio
from bleak import BleakClient, BleakScanner
import struct

DEVICE_NAME = "XIAO-Sensor"
TEMP_UUID = "00002a6e-0000-1000-8000-00805f9b34fb"
HUM_UUID = "00002a6f-0000-1000-8000-00805f9b34fb"
LED_UUID = "00002a57-0000-1000-8000-00805f9b34fb"

async def main():
    # 스캔
    print("Scanning...")
    device = await BleakScanner.find_device_by_name(DEVICE_NAME)
    if not device:
        print("Device not found!")
        return

    # 연결
    async with BleakClient(device) as client:
        print(f"Connected: {device.address}")

        # Notify 구독
        def on_temp(sender, data):
            temp = struct.unpack('<f', data)[0]
            print(f"  Temperature: {temp:.1f}°C")

        await client.start_notify(TEMP_UUID, on_temp)

        # LED 켜기
        await client.write_gatt_char(LED_UUID, bytes([1]))

        await asyncio.sleep(30)  # 30초 모니터링

asyncio.run(main())
저전력 설계
#include <nrf_power.h>

// 딥 슬립 모드 (System OFF — 0.5μA!)
void enterDeepSleep(int wakeupPin) {
    // 웨이크업 핀 설정
    nrf_gpio_cfg_sense_input(
        digitalPinToInterrupt(wakeupPin),
        NRF_GPIO_PIN_PULLUP,
        NRF_GPIO_PIN_SENSE_LOW
    );

    // System OFF
    NRF_POWER->SYSTEMOFF = 1;
    // 여기서 멈춤 — 웨이크업 시 리부팅
}

// 경량 슬립 (System ON + WFE — 1.5μA)
void lightSleep(uint32_t ms) {
    delay(ms);  // WFE 기반, BLE 연결 유지
}

// 배터리 수명 계산:
// 110mAh LiPo, 평균 소비 50μA (슬립 주기적 BLE 광고)
// 수명 = 110mAh / 0.05mA = 2,200시간 = ~91일!
센서 메시 네트워크
XIAO #1 (거실)          XIAO #2 (침실)          XIAO #3 (주방)
  온도/습도                조도                   가스 센서
    │                      │                      │
    └──── BLE ─────────────┴──── BLE ─────────────┘
                           │
                    Raspberry Pi (Gateway)
                           │
                    MQTT → Home Assistant
                           │
                      대시보드 / 알림
TinyML (XIAO Sense)
// 내장 IMU로 제스처 인식!
#include <LSM6DS3.h>
#include <gesture_model.h>  // TensorFlow Lite 모델

LSM6DS3 imu(I2C_MODE, 0x6A);
tflite::MicroInterpreter* interpreter;

void loop() {
    float ax, ay, az, gx, gy, gz;
    imu.readAcceleration(ax, ay, az);
    imu.readGyroscope(gx, gy, gz);

    // 모델 입력
    input->data.f[0] = ax; input->data.f[1] = ay; input->data.f[2] = az;
    input->data.f[3] = gx; input->data.f[4] = gy; input->data.f[5] = gz;

    interpreter->Invoke();

    // 제스처 판별
    int gesture = output->data.f[0] > 0.8 ? WAVE :
                  output->data.f[1] > 0.8 ? PUNCH : IDLE;
    Serial.println(gestureName[gesture]);
}
이 임베디드 실전 시리즈에서 다음에 읽을 글
- Arduino + Raspberry Pi 드론 & 제어 시스템 만들기 완전 가이드 XIAO 같은 단일 보드 프로젝트에서 한 단계 나아가, 센서 융합, PID 튜닝, 비전 처리까지 포함한 복합 제어 시스템을 보고 싶다면 이 글이 자연스러운 다음 단계다.
📝 퀴즈 — XIAO nRF52840 & BLE IoT (클릭해서 확인!)
Q1. BLE에서 Peripheral과 Central의 차이는? ||Peripheral(서버): 데이터를 제공하고 광고하는 쪽 (센서). Central(클라이언트): 스캔하고 연결하여 데이터를 요청하는 쪽 (스마트폰)||
Q2. GATT의 Service, Characteristic, Descriptor 관계는? ||Service: 기능 그룹 (온도 서비스). Characteristic: 실제 데이터 포인트 (온도 값). Descriptor: 메타데이터 (단위, 설명). Service > Characteristic > Descriptor 계층 구조||
Q3. XIAO nRF52840의 System OFF 모드 전류는? ||0.5μA. 110mAh 배터리로 약 91일 동작 가능. 웨이크업 시 리부팅됨 (RAM 내용 소실)||
Q4. BLE Notify와 Read의 차이는? ||Read: Central이 요청할 때만 값 전송 (폴링). Notify: 값이 변경되면 Peripheral이 자동으로 푸시 (이벤트 기반). Notify가 전력/지연 면에서 효율적||