- Authors
- Name
はじめに
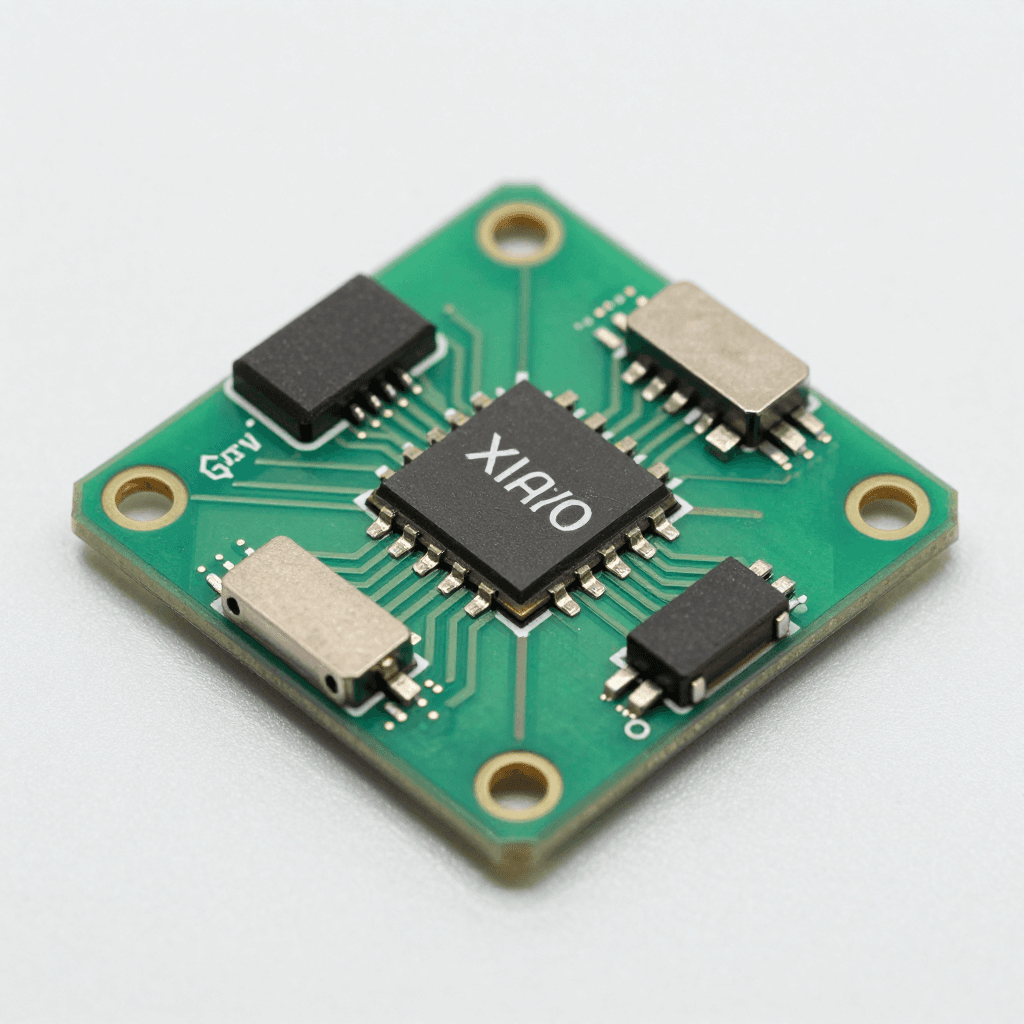
XIAO nRF52840 — 21mm × 17.5mmのサイズにBLE 5.0、6軸IMU、マイク、256KB RAMを搭載した超小型ボード。ウェアラブル、IoTセンサー、TinyMLデバイスに最適です。
スペック比較
| 項目 | XIAO nRF52840 | XIAO nRF52840 Sense | XIAO ESP32C3 |
|---|---|---|---|
| プロセッサ | ARM Cortex-M4F 64MHz | ARM Cortex-M4F 64MHz | RISC-V 160MHz |
| RAM | 256KB | 256KB | 400KB |
| Flash | 1MB + 2MB QSPI | 1MB + 2MB QSPI | 4MB |
| ワイヤレス | BLE 5.0 | BLE 5.0 | Wi-Fi + BLE 5.0 |
| IMU | なし | あり(LSM6DS3TR-C) | なし |
| マイク | なし | あり(PDM) | なし |
| バッテリー | リチウム充電回路内蔵 | リチウム充電回路内蔵 | なし |
| サイズ | 21×17.5mm | 21×17.5mm | 21×17.5mm |
| 価格 | ~$5.99 | ~$15.99 | ~$4.99 |
開発環境の構築
Arduino IDE
1. ボードマネージャURLを追加:
   https://files.seeedstudio.com/arduino/package_seeeduino_boards_index.json

2. ボードマネージャ → "Seeed nRF52 mbed-enabled Boards" をインストール

3. ボード選択:"Seeed XIAO BLE - nRF52840"

4. 注意:ブートローダモードへの入り方:RSTピンを素早く2回タッチ
   → オレンジ色LEDのフェード = ブートローダモード
BLE(Bluetooth Low Energy)プログラミング
BLEの基本概念
BLE構造:
├── GAP(Generic Access Profile) — 接続管理
│   ├── Peripheral(サーバー):データを提供(センサー)
│   └── Central(クライアント):データを要求(スマートフォン)
│
└── GATT(Generic Attribute Profile) — データ構造
    ├── Service:機能グループ(例:温度サービス)
    │   ├── Characteristic:データポイント(例:温度値)
    │   │   ├── Value:実際のデータ
    │   │   ├── Properties:Read/Write/Notify
    │   │   └── Descriptor:メタデータ
    │   └── Characteristic:...
    └── Service:...
BLEセンサーサーバー(Peripheral)
#include <ArduinoBLE.h>

// カスタムサービス + キャラクタリスティック定義
BLEService envService("181A");  // Environmental Sensing

BLEFloatCharacteristic tempChar("2A6E", BLERead | BLENotify);
BLEFloatCharacteristic humChar("2A6F", BLERead | BLENotify);
BLEByteCharacteristic ledChar("2A57", BLERead | BLEWrite);

void setup() {
    Serial.begin(115200);
    BLE.begin();

    // デバイス設定
    BLE.setLocalName("XIAO-Sensor");
    BLE.setAdvertisedService(envService);

    // キャラクタリスティック追加
    envService.addCharacteristic(tempChar);
    envService.addCharacteristic(humChar);
    envService.addCharacteristic(ledChar);
    BLE.addService(envService);

    // 初期値
    tempChar.writeValue(0.0f);
    humChar.writeValue(0.0f);
    ledChar.writeValue(0);

    // LED制御コールバック
    ledChar.setEventHandler(BLEWritten, onLedWrite);

    BLE.advertise();
    Serial.println("BLE Sensor Ready!");
}

void onLedWrite(BLEDevice central, BLECharacteristic characteristic) {
    byte value = ledChar.value();
    digitalWrite(LED_BUILTIN, value ? LOW : HIGH);
    Serial.print("LED: "); Serial.println(value ? "ON" : "OFF");
}

void loop() {
    BLEDevice central = BLE.central();

    if (central) {
        Serial.print("Connected: "); Serial.println(central.address());

        while (central.connected()) {
            // センサー読み取り(例:アナログ)
            float temp = analogRead(A0) * 0.1;  // 実際にはDHT22などを使用
            float hum = analogRead(A1) * 0.1;

            tempChar.writeValue(temp);
            humChar.writeValue(hum);

            delay(1000);
        }
        Serial.println("Disconnected");
    }
}
Python BLEクライアント(Central)
import asyncio
from bleak import BleakClient, BleakScanner
import struct

DEVICE_NAME = "XIAO-Sensor"
TEMP_UUID = "00002a6e-0000-1000-8000-00805f9b34fb"
HUM_UUID = "00002a6f-0000-1000-8000-00805f9b34fb"
LED_UUID = "00002a57-0000-1000-8000-00805f9b34fb"

async def main():
    # スキャン
    print("Scanning...")
    device = await BleakScanner.find_device_by_name(DEVICE_NAME)
    if not device:
        print("Device not found!")
        return

    # 接続
    async with BleakClient(device) as client:
        print(f"Connected: {device.address}")

        # Notify購読
        def on_temp(sender, data):
            temp = struct.unpack('<f', data)[0]
            print(f"  Temperature: {temp:.1f}°C")

        await client.start_notify(TEMP_UUID, on_temp)

        # LEDオン
        await client.write_gatt_char(LED_UUID, bytes([1]))

        await asyncio.sleep(30)  # 30秒モニタリング

asyncio.run(main())
低消費電力設計
#include <nrf_power.h>

// ディープスリープモード(System OFF — 0.5μA!)
void enterDeepSleep(int wakeupPin) {
    // ウェイクアップピン設定
    nrf_gpio_cfg_sense_input(
        digitalPinToInterrupt(wakeupPin),
        NRF_GPIO_PIN_PULLUP,
        NRF_GPIO_PIN_SENSE_LOW
    );

    // System OFF
    NRF_POWER->SYSTEMOFF = 1;
    // ここで停止 — ウェイクアップ時にリブート
}

// ライトスリープ(System ON + WFE — 1.5μA)
void lightSleep(uint32_t ms) {
    delay(ms);  // WFEベース、BLE接続を維持
}

// バッテリー寿命の計算:
// 110mAh LiPo、平均消費50μA(スリープ + 定期的BLEアドバタイジング)
// 寿命 = 110mAh / 0.05mA = 2,200時間 = 約91日!
センサーメッシュネットワーク
XIAO #1(リビング)     XIAO #2(寝室)         XIAO #3(キッチン)
  温度/湿度               照度                   ガスセンサー
    │                      │                      │
    └──── BLE ─────────────┴──── BLE ─────────────┘
                           │
                    Raspberry Pi(ゲートウェイ)
                           │
                    MQTT → Home Assistant
                           │
                      ダッシュボード / アラート
TinyML(XIAO Sense)
// 内蔵IMUによるジェスチャー認識!
#include <LSM6DS3.h>
#include <gesture_model.h>  // TensorFlow Liteモデル

LSM6DS3 imu(I2C_MODE, 0x6A);
tflite::MicroInterpreter* interpreter;

void loop() {
    float ax, ay, az, gx, gy, gz;
    imu.readAcceleration(ax, ay, az);
    imu.readGyroscope(gx, gy, gz);

    // モデル入力
    input->data.f[0] = ax; input->data.f[1] = ay; input->data.f[2] = az;
    input->data.f[3] = gx; input->data.f[4] = gy; input->data.f[5] = gz;

    interpreter->Invoke();

    // ジェスチャー判定
    int gesture = output->data.f[0] > 0.8 ? WAVE :
                  output->data.f[1] > 0.8 ? PUNCH : IDLE;
    Serial.println(gestureName[gesture]);
}
クイズ — XIAO nRF52840 & BLE IoT(クリックして確認!)
Q1. BLEにおけるPeripheralとCentralの違いは? ||Peripheral(サーバー):データを提供しアドバタイズする側(センサー)。Central(クライアント):スキャンして接続し、データを要求する側(スマートフォン)||
Q2. GATTのService、Characteristic、Descriptorの関係は? ||Service:機能グループ(温度サービス)。Characteristic:実際のデータポイント(温度値)。Descriptor:メタデータ(単位、説明)。Service > Characteristic > Descriptorの階層構造||
Q3. XIAO nRF52840のSystem OFFモードの電流は? ||0.5μA。110mAhバッテリーで約91日動作可能。ウェイクアップ時にリブート(RAM内容は消失)||
Q4. BLE NotifyとReadの違いは? ||Read:Centralが要求したときのみ値を送信(ポーリング)。Notify:値が変更されるとPeripheralが自動的にプッシュ(イベント駆動)。Notifyの方が電力・遅延の面で効率的||