- Authors
- Name
Overview
Apache Phoenixのインストール方法について学ぶ。
Environment
- Zookeeper Version: 3.5.7
- HBase version: 2.4.15
- phoenix version: 5.1.2
公式サイトのガイドでは以下の方法でインストールを案内している。
download and expand our installation binary tar corresponding to your HBase version
copy the phoenix server jar into the lib directory of every region server and master
restart HBase
add the phoenix client jar to the classpath of your JDBC client or application
We have detailed instructions for setting up SQuirreL SQL as your SQL client
インストール
バイナリのダウンロードとHBaseライブラリへの追加
HBaseがインストールされたすべてのノード(HMaster、Region Server)で実行する。
wget https://dlcdn.apache.org/phoenix/phoenix-5.1.2/phoenix-hbase-2.4.0-5.1.2-bin.tar.gz
tar -zxvf phoenix-hbase-2.4.0-5.1.2-bin.tar.gz
cd phoenix-hbase-2.4.0-5.1.2-bin
sudo cp phoenix-server-hbase-2.4.0-5.1.2.jar  /usr/local/hbase/lib/
HBaseの再起動
HMasterとRegion Serverを再起動する。
マスターノードで以下のコマンドを実行する。
stop-hbase.sh
start-hbase.sh
sqlline.pyの実行
binフォルダ内のhbase-site.xmlにZookeeper quorumを正しく記入した後、以下のコマンドでPhoenix SQLシェルを実行する。
python3.10 ./sqlline.py
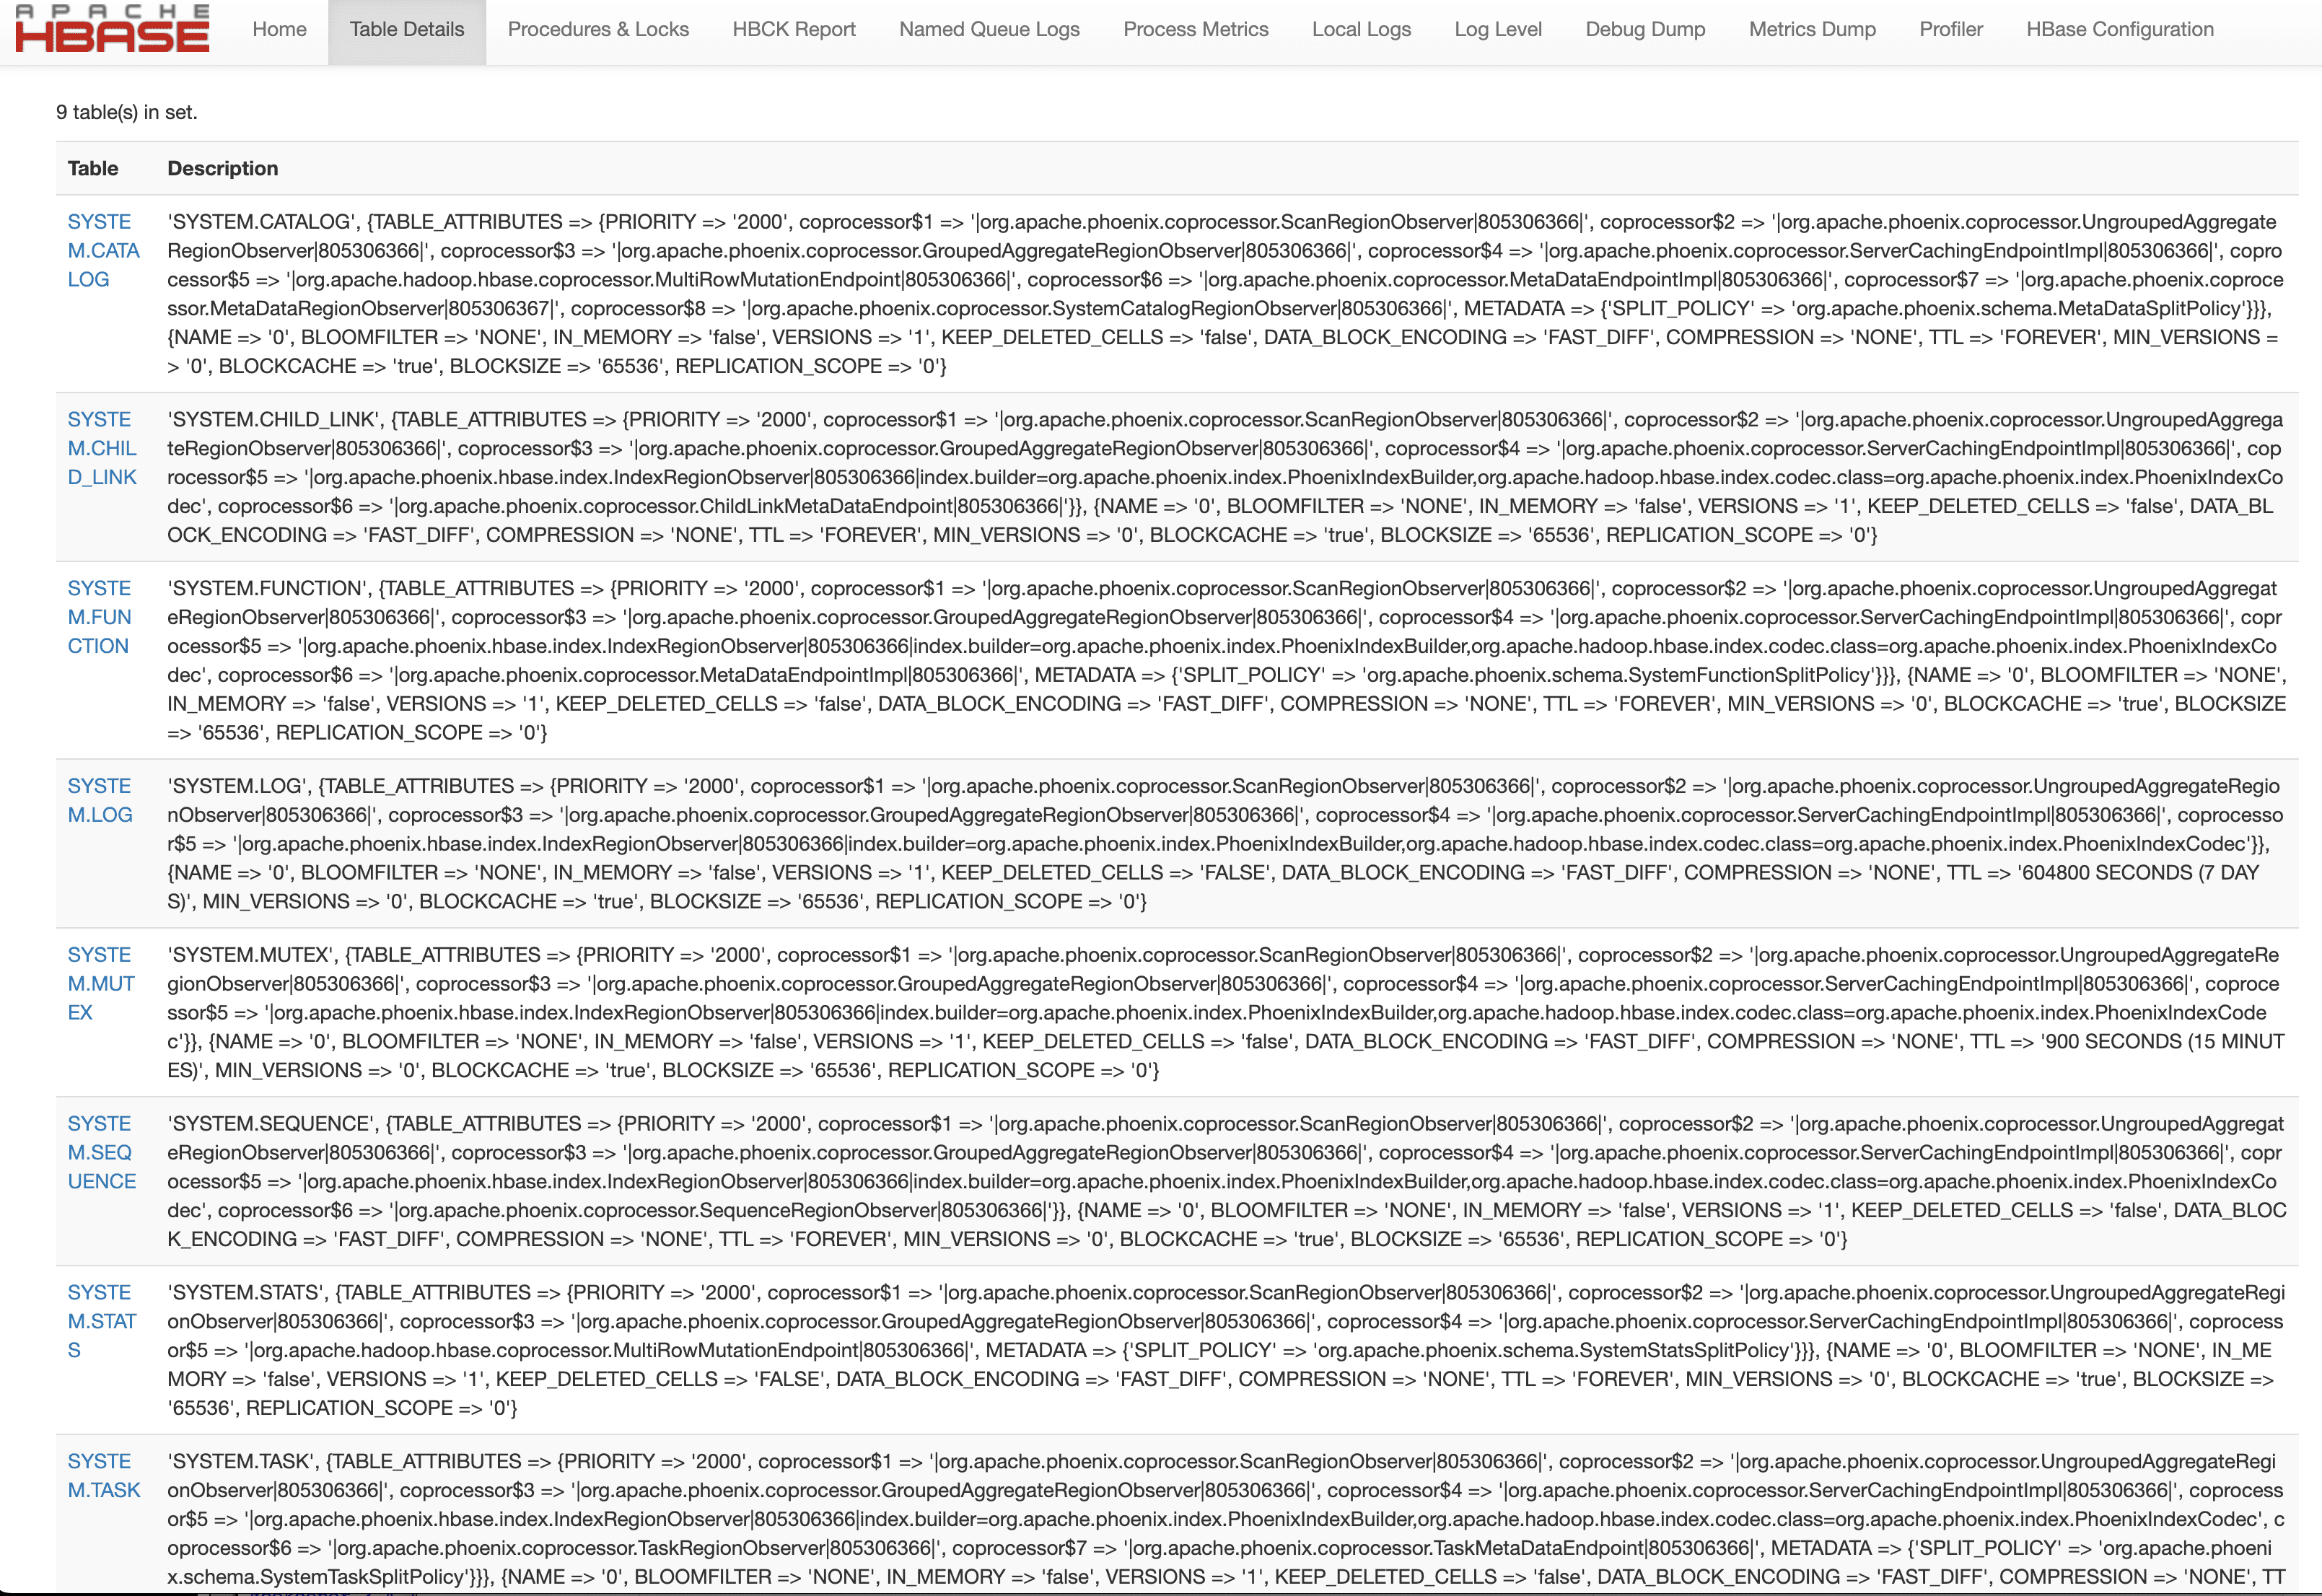
0: jdbc:phoenix:>というプロンプトが表示されれば、Phoenixが正常に起動したことになる。 以下のようにHBase Web UIのテーブル情報を確認すると、Phoenixが自動的に作成した複数のテーブルを確認できる。
Phoenixの例
以下のようにsqllineとともにZookeeper quorumとSQLを渡すとSQLが実行される。
python sqlline.py latte01,latte02,latte03 ../examples/STOCK_SYMBOL.sql