- Authors
- Name
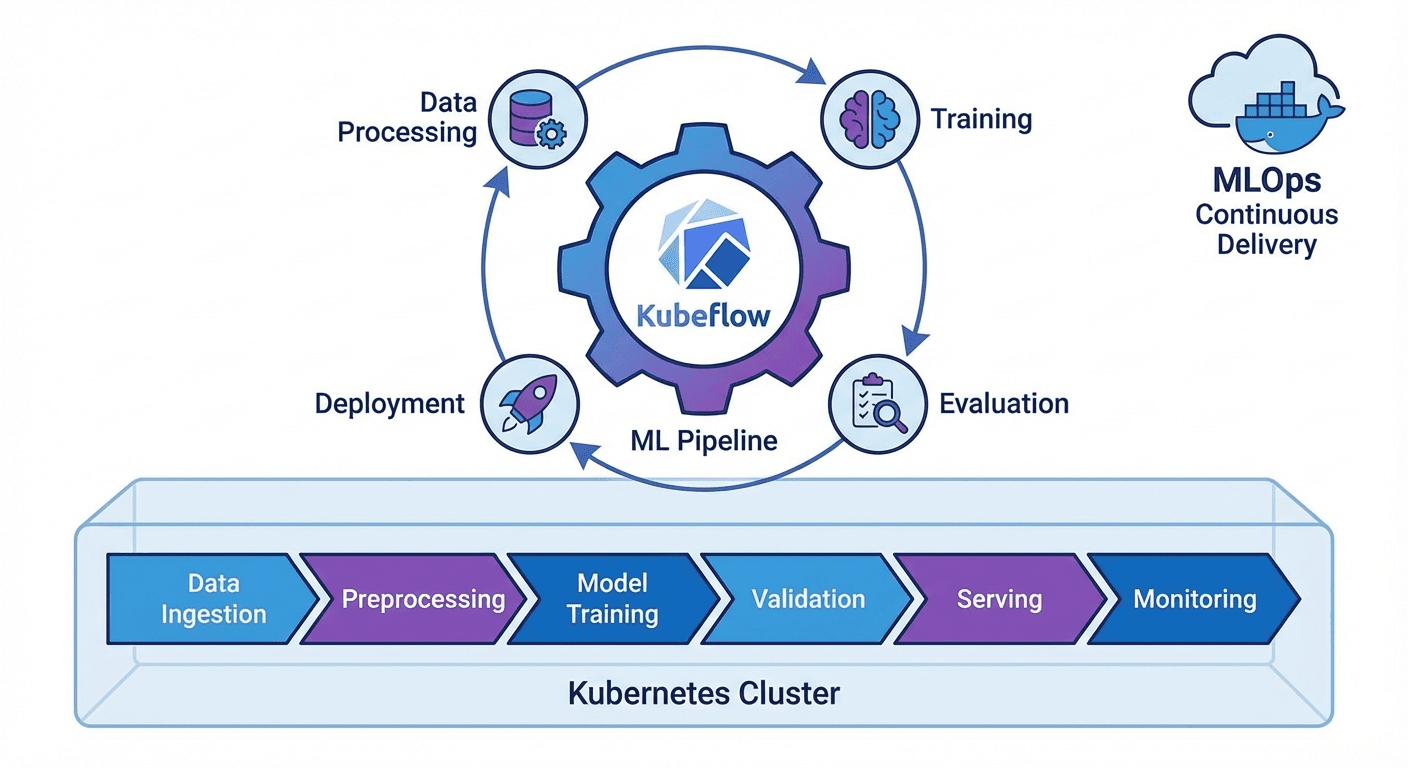
はじめに
MLモデルを実験からプロダクションに移行する過程で、再現性、自動化、バージョン管理は必須です。Kubeflow Pipelines(KFP)v2はKubernetes上でMLワークフローを定義・実行するフレームワークで、Pythonデコレータだけでパイプラインを構成できます。
本記事では、KFP v2 SDKの主要機能と実践的なパイプライン構築を解説します。
KFP v2のインストールと基本概念
インストール
pip install kfp==2.7.0

# Kubeflow Pipelinesバックエンドのインストール(Kubernetes)
kubectl apply -k "github.com/kubeflow/pipelines/manifests/kustomize/env/platform-agnostic?ref=2.2.0"

# ポートフォワーディング
kubectl port-forward svc/ml-pipeline-ui -n kubeflow 8080:80
基本概念
# 1. Component: パイプラインの作業単位(Python関数)
# 2. Pipeline: ComponentのDAG(有向非巡回グラフ)
# 3. Artifact: 入出力データ(Dataset, Model, Metricsなど)
# 4. Run: パイプラインの1回の実行
# 5. Experiment: Runの論理的なグループ
コンポーネントの定義
軽量Pythonコンポーネント
from kfp import dsl
from kfp.dsl import (
    Dataset, Input, Output, Model, Metrics,
    ClassificationMetrics, component
)


@dsl.component(
    base_image="python:3.11-slim",
    packages_to_install=["pandas==2.1.4", "scikit-learn==1.4.0"]
)
def load_data(
    dataset_url: str,
    output_dataset: Output[Dataset]
):
    """データ読み込みコンポーネント"""
    import pandas as pd

    df = pd.read_csv(dataset_url)
    print(f"Loaded {len(df)} rows")

    # 出力アーティファクトに保存
    df.to_csv(output_dataset.path, index=False)
    output_dataset.metadata["num_rows"] = len(df)
    output_dataset.metadata["num_columns"] = len(df.columns)


@dsl.component(
    base_image="python:3.11-slim",
    packages_to_install=["pandas==2.1.4", "scikit-learn==1.4.0"]
)
def preprocess_data(
    input_dataset: Input[Dataset],
    train_dataset: Output[Dataset],
    test_dataset: Output[Dataset],
    test_size: float = 0.2
):
    """データの前処理と分割"""
    import pandas as pd
    from sklearn.model_selection import train_test_split

    df = pd.read_csv(input_dataset.path)

    # 前処理
    df = df.dropna()
    df = df.drop_duplicates()

    # 分割
    train_df, test_df = train_test_split(df, test_size=test_size, random_state=42)

    train_df.to_csv(train_dataset.path, index=False)
    test_df.to_csv(test_dataset.path, index=False)

    train_dataset.metadata["num_rows"] = len(train_df)
    test_dataset.metadata["num_rows"] = len(test_df)


@dsl.component(
    base_image="python:3.11-slim",
    packages_to_install=[
        "pandas==2.1.4", "scikit-learn==1.4.0",
        "joblib==1.3.2", "xgboost==2.0.3"
    ]
)
def train_model(
    train_dataset: Input[Dataset],
    model_output: Output[Model],
    metrics_output: Output[Metrics],
    n_estimators: int = 100,
    max_depth: int = 6,
    learning_rate: float = 0.1
):
    """モデル学習"""
    import pandas as pd
    import joblib
    from xgboost import XGBClassifier
    from sklearn.model_selection import cross_val_score

    df = pd.read_csv(train_dataset.path)
    X = df.drop("target", axis=1)
    y = df["target"]

    # 学習
    model = XGBClassifier(
        n_estimators=n_estimators,
        max_depth=max_depth,
        learning_rate=learning_rate,
        random_state=42
    )
    model.fit(X, y)

    # 交差検証
    cv_scores = cross_val_score(model, X, y, cv=5, scoring="accuracy")

    # モデル保存
    joblib.dump(model, model_output.path)
    model_output.metadata["framework"] = "xgboost"
    model_output.metadata["n_estimators"] = n_estimators

    # メトリクス記録
    metrics_output.log_metric("cv_accuracy_mean", float(cv_scores.mean()))
    metrics_output.log_metric("cv_accuracy_std", float(cv_scores.std()))
    metrics_output.log_metric("n_estimators", n_estimators)


@dsl.component(
    base_image="python:3.11-slim",
    packages_to_install=[
        "pandas==2.1.4", "scikit-learn==1.4.0",
        "joblib==1.3.2", "xgboost==2.0.3"
    ]
)
def evaluate_model(
    test_dataset: Input[Dataset],
    model_input: Input[Model],
    metrics_output: Output[ClassificationMetrics],
    eval_metrics: Output[Metrics]
) -> float:
    """モデル評価"""
    import pandas as pd
    import joblib
    from sklearn.metrics import accuracy_score, classification_report

    df = pd.read_csv(test_dataset.path)
    X = df.drop("target", axis=1)
    y = df["target"]

    model = joblib.load(model_input.path)
    y_pred = model.predict(X)
    y_prob = model.predict_proba(X)

    accuracy = accuracy_score(y, y_pred)

    # 分類メトリクス(混同行列の可視化)
    metrics_output.log_confusion_matrix(
        categories=["Class 0", "Class 1"],
        matrix=[[int(sum((y == 0) & (y_pred == 0))), int(sum((y == 0) & (y_pred == 1)))],
                [int(sum((y == 1) & (y_pred == 0))), int(sum((y == 1) & (y_pred == 1)))]]
    )

    eval_metrics.log_metric("test_accuracy", accuracy)

    return accuracy
カスタムDockerイメージコンポーネント
@dsl.component(
    base_image="pytorch/pytorch:2.1.0-cuda12.1-cudnn8-runtime",
    packages_to_install=["transformers==4.37.0", "datasets==2.16.0"]
)
def finetune_llm(
    model_name: str,
    train_dataset: Input[Dataset],
    output_model: Output[Model],
    epochs: int = 3,
    batch_size: int = 8
):
    """LLMファインチューニング(GPU使用)"""
    from transformers import AutoModelForSequenceClassification, Trainer
    # ... 学習コード
    pass
パイプラインの作成
基本パイプライン
@dsl.pipeline(
    name="ML Training Pipeline",
    description="データ読み込み → 前処理 → 学習 → 評価パイプライン"
)
def ml_training_pipeline(
    dataset_url: str = "https://example.com/data.csv",
    test_size: float = 0.2,
    n_estimators: int = 100,
    max_depth: int = 6,
    learning_rate: float = 0.1,
    accuracy_threshold: float = 0.85
):
    # Step 1: データ読み込み
    load_task = load_data(dataset_url=dataset_url)

    # Step 2: 前処理(load_task完了後に実行)
    preprocess_task = preprocess_data(
        input_dataset=load_task.outputs["output_dataset"],
        test_size=test_size
    )

    # Step 3: モデル学習
    train_task = train_model(
        train_dataset=preprocess_task.outputs["train_dataset"],
        n_estimators=n_estimators,
        max_depth=max_depth,
        learning_rate=learning_rate
    )
    # リソース制限の設定
    train_task.set_cpu_limit("4")
    train_task.set_memory_limit("8Gi")

    # Step 4: 評価
    eval_task = evaluate_model(
        test_dataset=preprocess_task.outputs["test_dataset"],
        model_input=train_task.outputs["model_output"]
    )

    # Step 5: 条件付きデプロイ
    with dsl.If(eval_task.output >= accuracy_threshold):
        deploy_task = deploy_model(
            model_input=train_task.outputs["model_output"],
            accuracy=eval_task.output
        )


@dsl.component(base_image="python:3.11-slim")
def deploy_model(
    model_input: Input[Model],
    accuracy: float
):
    """モデルデプロイ(条件充足時)"""
    print(f"Deploying model with accuracy: {accuracy:.4f}")
    print(f"Model path: {model_input.path}")
    # 実際のデプロイロジック(K8s Serving、BentoMLなど)
パイプラインのコンパイルと実行
from kfp import compiler
from kfp.client import Client

# 1. YAMLにコンパイル
compiler.Compiler().compile(
    pipeline_func=ml_training_pipeline,
    package_path="ml_pipeline.yaml"
)

# 2. KFPサーバーに送信
client = Client(host="http://localhost:8080")

# Experimentの作成
experiment = client.create_experiment(name="ml-experiments")

# Runの実行
run = client.create_run_from_pipeline_func(
    ml_training_pipeline,
    experiment_name="ml-experiments",
    run_name="training-run-001",
    arguments={
        "dataset_url": "gs://my-bucket/data.csv",
        "n_estimators": 200,
        "max_depth": 8,
        "accuracy_threshold": 0.90
    }
)

print(f"Run ID: {run.run_id}")
print(f"Run URL: http://localhost:8080/#/runs/details/{run.run_id}")
定期実行(Recurring Run)
# 毎日午前2時に実行
client.create_recurring_run(
    experiment_id=experiment.experiment_id,
    job_name="daily-retraining",
    pipeline_func=ml_training_pipeline,
    cron_expression="0 2 * * *",
    max_concurrency=1,
    arguments={
        "dataset_url": "gs://my-bucket/latest-data.csv",
        "accuracy_threshold": 0.85
    }
)
高度なパターン
並列実行(ParallelFor)
@dsl.pipeline(name="Hyperparameter Search")
def hp_search_pipeline():
    # ハイパーパラメータの組み合わせを定義
    hp_configs = [
        {"n_estimators": 100, "max_depth": 4, "lr": 0.1},
        {"n_estimators": 200, "max_depth": 6, "lr": 0.05},
        {"n_estimators": 300, "max_depth": 8, "lr": 0.01},
    ]

    # 並列学習
    with dsl.ParallelFor(hp_configs) as config:
        train_task = train_model(
            train_dataset=load_task.outputs["output_dataset"],
            n_estimators=config.n_estimators,
            max_depth=config.max_depth,
            learning_rate=config.lr
        )
キャッシング
# コンポーネントレベルでキャッシュを無効化
load_task = load_data(dataset_url=dataset_url)
load_task.set_caching_options(False)  # 常に再実行

# パイプラインレベルでキャッシュを設定
run = client.create_run_from_pipeline_func(
    ml_training_pipeline,
    enable_caching=True  # 同一入力の場合はキャッシュを使用
)
ボリュームマウント
@dsl.component(base_image="python:3.11-slim")
def process_large_data(output_data: Output[Dataset]):
    """大容量データの処理"""
    pass

# PVCマウント
process_task = process_large_data()
process_task.add_pvolumes({
    "/mnt/data": dsl.PipelineVolume(pvc="data-pvc")
})
CI/CD統合
GitHub Actions + KFP
# .github/workflows/ml-pipeline.yml
name: ML Pipeline CI/CD

on:
  push:
    branches: [main]
    paths:
      - 'pipelines/**'
      - 'components/**'

jobs:
  deploy-pipeline:
    runs-on: ubuntu-latest
    steps:
      - uses: actions/checkout@v4

      - name: Set up Python
        uses: actions/setup-python@v5
        with:
          python-version: '3.11'

      - name: Install dependencies
        run: pip install kfp==2.7.0

      - name: Compile pipeline
        run: python pipelines/compile.py

      - name: Upload and run pipeline
        env:
          KFP_HOST: ${{ secrets.KFP_HOST }}
        run: |
          python -c "
          from kfp.client import Client
          client = Client(host='$KFP_HOST')
          client.upload_pipeline(
            pipeline_package_path='ml_pipeline.yaml',
            pipeline_name='ml-training-v2',
            description='Automated ML training pipeline'
          )
          "
まとめ
Kubeflow Pipelines v2の要点整理:
- @dsl.component: Python関数をコンテナ化されたコンポーネントに変換
- @dsl.pipeline: コンポーネントをDAGとして接続
- Artifactシステム: Dataset、Model、Metricsタイプで入出力を管理
- 条件/繰り返し: dsl.If、dsl.ParallelForで動的パイプラインを構築
- キャッシング: 同一入力時の再実行を防止してコストを削減
クイズ(6問)
Q1. KFP v2でコンポーネントを定義するデコレータは? @dsl.component
Q2. Output[Dataset]とOutput[Model]の違いは? 型ヒントでアーティファクトの種類を区別します。Datasetはデータ、Modelは学習済みモデルのアーティファクトです。
Q3. パイプラインで条件付き実行を実装する方法は? dsl.Ifコンテキストマネージャを使用します(例:with dsl.If(accuracy >= threshold))
Q4. キャッシュが有効な状態で同一入力で実行するとどうなる? 前回の実行結果を再利用し、コンポーネントをスキップします。
Q5. ParallelForの用途は? 同一コンポーネントを異なるパラメータで並列実行します(例:ハイパーパラメータサーチ)
Q6. KFP v1からv2への移行で最大の変更点は? ContainerOpの代わりに@dsl.componentデコレータを使用し、Artifactタイプシステムが導入されました。